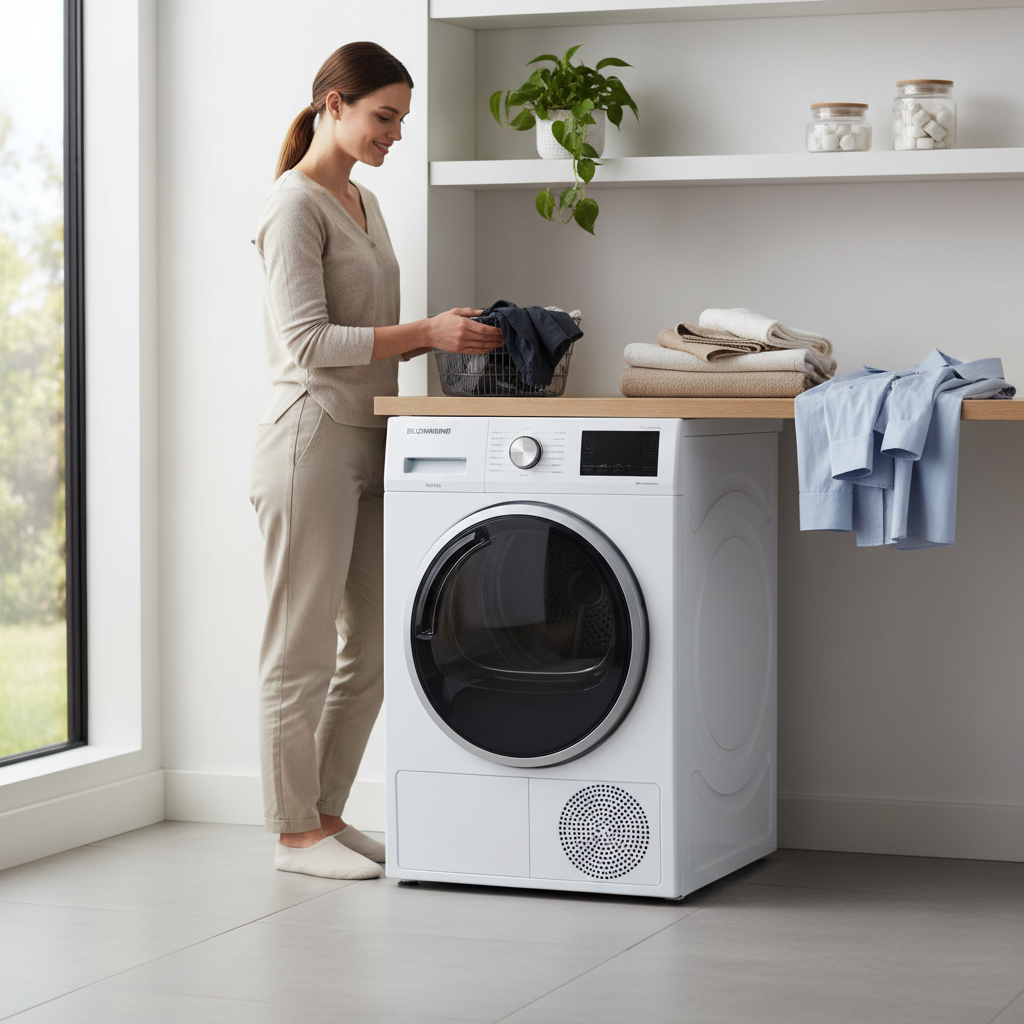
For many households, the electric clothes dryer is an indispensable appliance, transforming damp laundry into fluffy, wearable garments with ease. But behind the convenience of a warm load lies a critical component often overlooked: proper electrical grounding. Ensuring your electric clothes dryer is correctly grounded isn’t just a recommendation; it’s a fundamental safety measure that protects your home and family from potential electrical hazards. Whether you’re installing a new unit or inspecting an existing one, understanding the nuances of dryer grounding—from identifying your outlet type to connecting the right wires—is paramount. Let’s delve into the essential knowledge you need to maintain a safe and efficient laundry space.
Understanding Electric Clothes Dryer Grounding
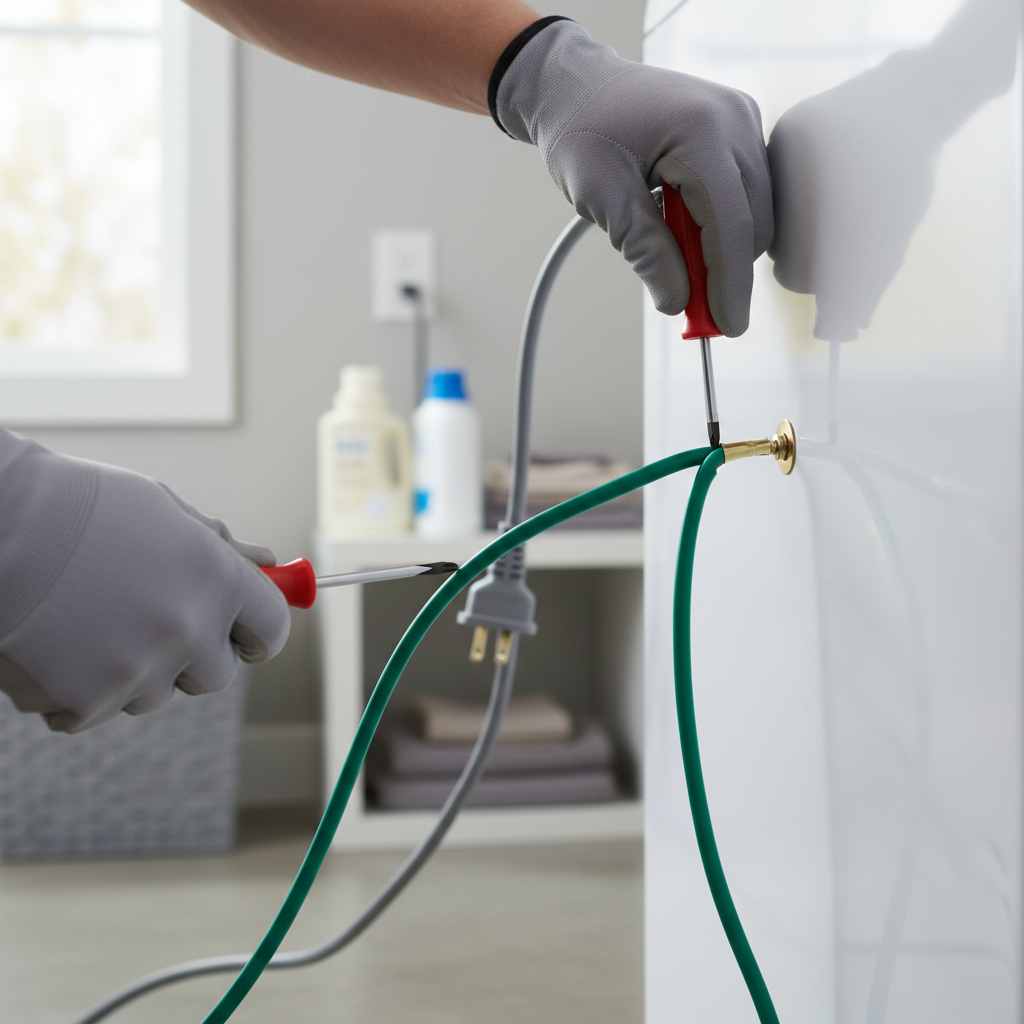
Grounding an electrical appliance, like your clothes dryer, is a safety mechanism designed to protect you from electric shock. It provides a safe path for electricity to travel to the earth in the event of an electrical fault. Without proper grounding, stray electrical currents could energize the metal casing of your dryer, turning it into a dangerous shock hazard. The National Electrical Code (NEC) sets the standards for these connections, emphasizing safety above all else.
What is Grounding and Why is it Essential?
|
Our Picks for the Best Clothes dryer in 2026
As an Amazon Associate I earn from qualifying purchases.
|
||
| Num | Product | Action |
|---|---|---|
| 1 | Kenmore 7.0 cu. ft. Front Load Electric Dryer - with Guard to Reduce Wrinkles & Static - Smart Sensor Drying - LED - White |

|
| 2 | BLACK+DECKER BCED37 Compact Dryer for Standard Wall Outlet, Small, 4 Modes, Load Volume 13.2 lbs., White |
|
| 3 | Drying Rack Clothing, 3-Tier Clothes Drying Rack Foldable, Antirust Laundry Drying Rack Collapsible Use for Indoor & Outdoor, 11.8" D x 34.6" W x 35.4" H, White |
|
| 4 | Sakugi Clothes Drying Rack, Foldable 2-Level Laundry Drying Rack with Height-Adjustable Wings, for Clothing & Bedding, Free-Standing Space-Saving Rack, Indoor & Outdoor, 55.5" L × 22.8" W, Gray |
|
| 5 | Portable Clothes Dryer, 900W Fast Drying & Large Load Capacity for Laundry and Shoes - Compact Mini Dryer Machine for Travel, Apartments, RV, Dorm Blue |
|
| 6 | Amazon Basics Foldable Portable Clothes Drying Rack for Indoor Air Drying, Collapsible Design, 14.5" D x 29.5" W x 41.8" H, White |
|
| 7 | Euhomy Dryer, 3.5 Cu. Ft. 1500W Clothes Dryer, Stainless Steel Tumble Dryer with Exhaust Hose for Home, Apartment, Dorm, White |
|
| 8 | HOMIDEC Clothes Drying Rack, Oversized 4-Tier(67.7" High) Foldable Stainless Steel Drying Rack Clothing, Movable Drying Rack with 4 castors, 24 Drying Poles and 14 Hooks for Bed Linen, Clothing, Grey |
|
| 9 | GE PROFILE 7.2 cu. ft. Vented Electric Dryer in White with Auto Dry and Extended Tumble |
|
| 10 | MOJOCO Portable Clothes Dryer - Mini/Compact Dryer for Apartment, RV, Travel - Small Quiet Fast-Drying Machine with Adjustable Timer & Hassle-Free Setup |
|
Grounding is essentially connecting an electrical system to the earth. This connection serves to limit voltage imposed by lightning or power surges and stabilizes the voltage to the ground during normal operation. More critically for appliances, it creates an effective ground-fault current path. Should a live wire accidentally touch the metal frame of the dryer, this path directs the fault current safely back to the electrical panel, causing the circuit breaker to trip and cut off power. This immediate response prevents electrocution and reduces the risk of electrical fires.
The Evolution of Dryer Wiring: 3-Prong vs. 4-Prong
The way electric clothes dryers are wired has evolved significantly over the years, primarily driven by enhanced safety standards. This evolution centers around the distinction between 3-prong and 4-prong power cords and their corresponding outlets. Understanding these differences is crucial for correct installation.
3-Prong Dryers: The Older Standard
In homes built before 1996, it was common to find 3-prong dryer outlets, typically NEMA 10-30R. These older setups feature two hot wires and a third wire that served a dual purpose: acting as both the neutral and the ground conductor. In this configuration, the dryer’s metal chassis was “bonded” directly to the neutral wire via a small metal strap within the appliance’s terminal block. While this system provided some level of safety, it had inherent risks if the neutral wire ever failed or became loose.
4-Prong Dryers: The Modern Safety Standard
Recognizing the potential hazards of the shared neutral/ground system, the National Electrical Code (NEC) was updated in 1996. This update mandated the use of 4-prong outlets, specifically NEMA 14-30R, for all new dryer installations and major remodels. A 4-prong system consists of two hot wires, a dedicated neutral wire, and a separate, dedicated ground wire. This dedicated ground wire provides an isolated and safer path for fault current, significantly reducing the risk of electric shock if an internal fault occurs.
Key Safety Differences
The primary safety advantage of the 4-prong system lies in its dedicated ground wire. In a 3-prong setup, if the neutral wire—which carries current during normal operation—were to become compromised or disconnected, the dryer’s metal casing could become energized with 120 volts, posing a severe shock hazard to anyone who touches it. With a 4-prong system, the neutral and ground paths are separated. If a neutral wire fails, the dedicated ground wire still offers a safe route for fault current, ensuring the chassis remains safely grounded and preventing dangerous voltage buildup. This separation dramatically enhances safety.
Preparing for Grounding Your Electric Dryer
Before you begin any electrical work on your clothes dryer, meticulous preparation is essential. This isn’t merely about convenience; it’s about safeguarding yourself and your home from severe electrical accidents. Taking the necessary precautions will ensure a smooth and safe installation process.
Prioritizing Safety: Disconnecting Power
The single most critical step before touching any wiring is to completely disconnect power to the dryer circuit. Locate your home’s main electrical panel and identify the circuit breaker labeled for your dryer. This is typically a 30-amp, double-pole breaker. Flip it to the “OFF” position. It’s a good practice to then try turning on the dryer briefly to confirm that it is indeed without power, ensuring no current can accidentally flow through the system while you work.
Identifying Your Outlet Type: 3-Prong (NEMA 10-30R) or 4-Prong (NEMA 14-30R)
Knowing your wall outlet type is fundamental to selecting and installing the correct power cord.
- 3-prong outlets (NEMA 10-30R) have two angled slots and one L-shaped slot. They are common in older homes.
- 4-prong outlets (NEMA 14-30R) feature two angled slots, one straight slot, and one round ground hole. These are the standard for newer constructions.
Your dryer’s power cord must match your wall outlet. Do not force a plug into an incompatible outlet; this indicates a wiring mismatch that needs professional attention or a cord replacement.
Essential Tools and Materials
Having the right tools on hand will make the job much easier and safer. Here’s a basic list:
- Screwdrivers: Phillips head and flat head for terminal screws and cover plates.
- Wire Strippers: To prepare wire ends if installing a new cord.
- Nut Driver or Wrench: For tightening terminal screws.
- Voltmeter/Multimeter: To confirm power is off (optional, but highly recommended for safety).
- New Dryer Power Cord: Either 3-prong or 4-prong, as required, and a UL-listed 30-amp cord.
- Strain Relief Connector: Often included with new cords, this prevents wires from pulling out.
- Manufacturer’s Instructions: Always consult your specific dryer’s manual for model-specific wiring diagrams.
Step-by-Step Guide: How to Install a 4-Prong Dryer Cord
Installing a 4-prong power cord on an electric clothes dryer is the recommended standard for safety and compliance with modern electrical codes. This process ensures a dedicated ground path, minimizing the risk of electrical shock. Always prioritize safety by disconnecting power before you begin.
Accessing the Terminal Block
Start by locating the electrical access panel on the back of your dryer. This is usually a small metal plate secured by a few screws, often near where the power cord will enter. Use a screwdriver to remove these screws and carefully lift off the cover plate, exposing the dryer’s terminal block. This is where all the electrical connections will be made.
Removing the Neutral-to-Ground Bonding Strap (Crucial Step!)
For a 4-prong installation, it is absolutely critical to remove the neutral-to-ground bonding strap (or jumper) inside the dryer. This metal strap typically connects the center neutral terminal to the dryer’s metal chassis (green ground screw). For a 4-wire setup, the dedicated green ground wire from your new cord will connect to the chassis, while the white neutral wire connects to the center terminal. Leaving the bonding strap in place would improperly bond neutral and ground at the appliance, which is unsafe in a 4-wire system. Consult your dryer’s manual for specific instructions on how to remove this strap.
Connecting the Wires
Once the bonding strap is removed, you can connect the wires from your 4-prong power cord to the terminal block:
- Green (or bare copper) Ground Wire: Connect this wire directly to the dryer’s green ground screw, which is typically found on the dryer’s metal frame near the terminal block. Tighten it firmly.
- White Neutral Wire: Attach the white neutral wire to the center terminal on the terminal block.
- Red and Black Hot Wires: Connect the red and black hot wires to the two outer terminals on the terminal block. These are interchangeable.
Ensure all terminal screws are tightened securely to prevent loose connections, which can cause overheating or intermittent power issues.
Securing the Strain Relief and Cover
After connecting the wires, install the strain relief connector where the power cord enters the dryer’s back panel. This fitting clamps around the cord, preventing it from being pulled out or stressing the internal connections. Tighten the strain relief screws until the cord is held firmly in place, but avoid over-tightening which could damage the cord’s insulation. Finally, replace the terminal block cover plate, securing it with its screws. Once complete, you can plug in your dryer and restore power, remembering to connect the exhaust vent before operating the appliance.
Step-by-Step Guide: How to Install a 3-Prong Dryer Cord (For Older Outlets)
While a 4-prong setup is the modern safety standard, many older homes still have 3-prong dryer outlets. If your home has a 3-prong (NEMA 10-30R) wall outlet, you must use a 3-prong dryer power cord. The key difference in this installation is how the dryer’s chassis is grounded.
Accessing the Terminal Block
Similar to a 4-prong installation, begin by removing the electrical access panel on the back of your dryer to expose the terminal block. You will need a screwdriver for this step. Store the cover plate screws safely so you can reattach the panel once the wiring is complete.